GSAP Hover Effects: 5 Patterns Worth Knowing (2026)
Learn how to build GSAP hover effects that feel polished. Covers play/reverse pattern, magnetic effects, quickTo for mouse tracking, and React implementation.
CSS hover transitions are fine for simple color and scale changes. But once you want the hover-out to feel different from hover-in, or you want an element to follow the mouse, or you need character-level text effects on hover, CSS falls short fast.
GSAP handles all of this with a small set of patterns. Here are the five I reach for most.
Pattern 1: The play/reverse Timeline
The most important GSAP hover pattern. Create a paused timeline, play it on hover in, reverse it on hover out.
const button = document.querySelector('.button')
const tl = gsap.timeline({ paused: true })

tl.to('.button-bg', { scaleX: 1, duration: 0.5, ease: 'expo.out' }).to(
  '.button-label',
  { color: '#0a0a0a', duration: 0.2 },
  '<'
)

button.addEventListener('mouseenter', () => tl.play())
button.addEventListener('mouseleave', () => tl.reverse())
The key insight: tl.reverse() doesn't need a separate animation. It plays the existing timeline backwards from the current playhead position. One timeline, both directions.
This is cleaner than managing two animations or toggling CSS classes. One thing to know: reversing time also inverts the ease curve, so an expo.out going forward becomes an expo.in going back. If the exit feels weak, set easeReverse on the tween. The GSAP easeReverse guide covers when and how.
In React
const buttonRef = useRef(null)
const tl = useRef(null)

useGSAP(
  () => {
    tl.current = gsap.timeline({ paused: true })
    tl.current
      .to(buttonRef.current.querySelector('.bg'), { scaleX: 1, duration: 0.5, ease: 'expo.out' })
      .to(buttonRef.current.querySelector('.label'), { color: '#0a0a0a', duration: 0.2 }, '<')
  },
  { scope: buttonRef }
)

return (
  <button
    ref={buttonRef}
    onMouseEnter={() => tl.current.play()}
    onMouseLeave={() => tl.current.reverse()}
  >
    <span className="bg" />
    <span className="label">Click me</span>
  </button>
)
Store the timeline in a useRef so it's accessible from event handlers without being a stale closure.
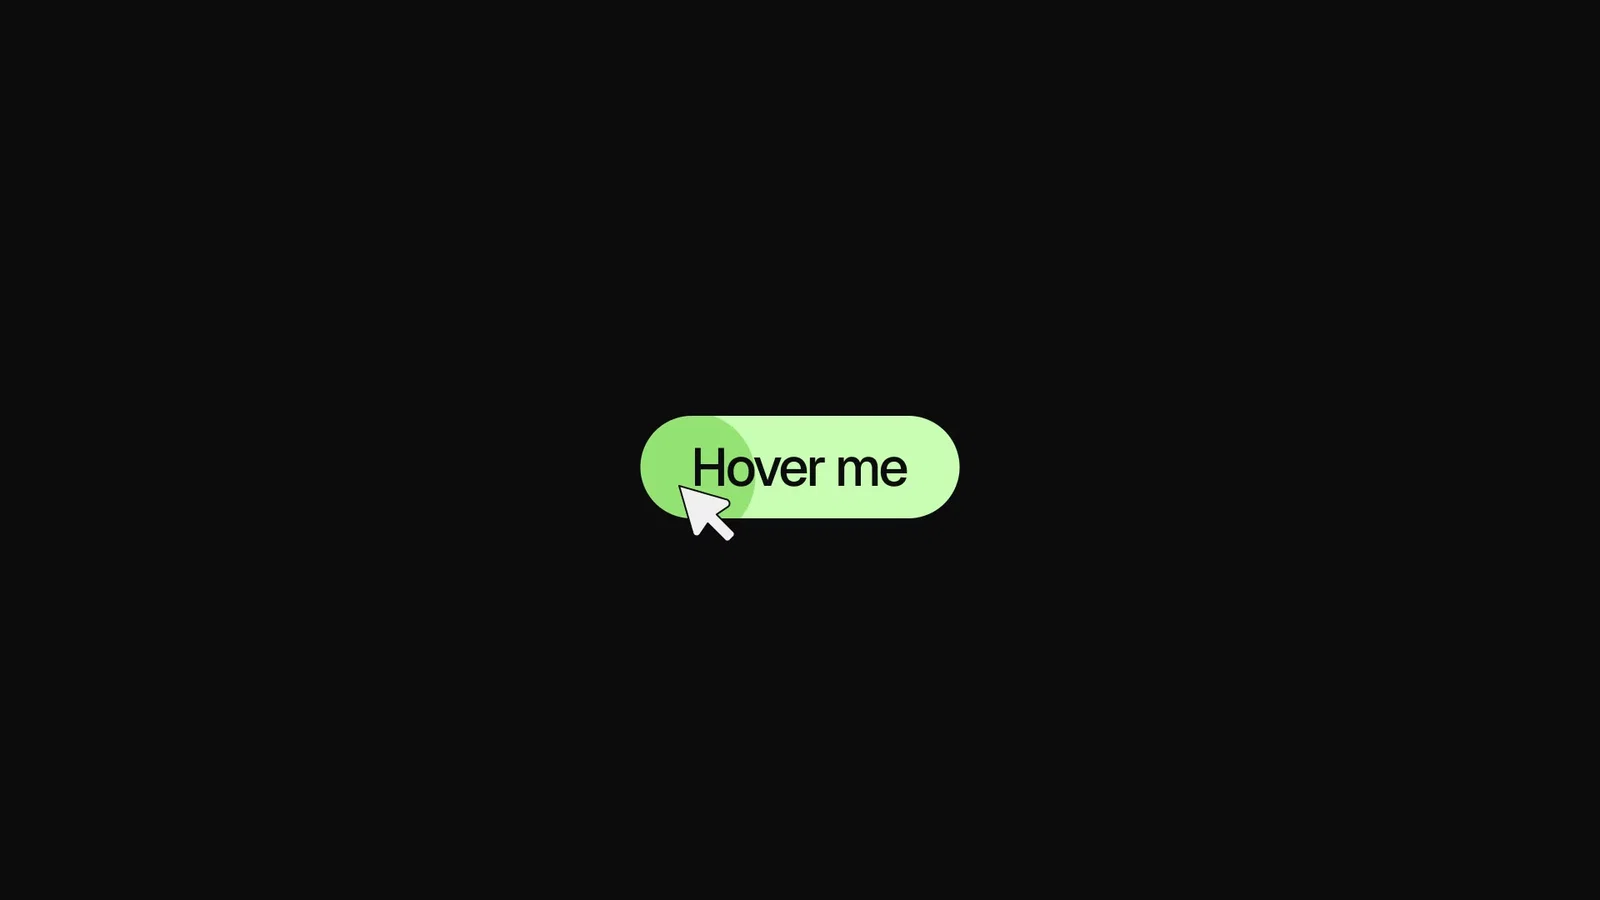
Visual: PLACEHOLDER - Button with background wipe hover animation showing play/reverse in action
Pattern 2: quickTo for Mouse Following
gsap.quickTo() is built for properties that update on every mouse event. Instead of creating a new tween each frame, it reuses one tween and updates the target value. Much more efficient.
const follower = document.querySelector('.cursor-dot')

const xTo = gsap.quickTo(follower, 'x', { duration: 0.4, ease: 'power3.out' })
const yTo = gsap.quickTo(follower, 'y', { duration: 0.4, ease: 'power3.out' })

document.addEventListener('mousemove', (e) => {
  xTo(e.clientX)
  yTo(e.clientY)
})
The duration here is the "inertia" — how long the follower takes to catch up to the cursor. Lower numbers feel snappier. 0.3 to 0.6 is the typical range.
This same pattern works for any element that tracks mouse position: custom cursors, hover highlights, magnetic elements.
Visual: PLACEHOLDER - Custom cursor dot following mouse with smooth GSAP quickTo easing
Pattern 3: Magnetic Button
A magnetic button pulls toward the cursor when it gets close. It's a high-craft hover effect that reads as premium.
The trick: calculate the cursor distance from the button center and move the button slightly in that direction.
const buttons = document.querySelectorAll('.magnetic-btn')

buttons.forEach((btn) => {
  const xTo = gsap.quickTo(btn, 'x', { duration: 0.5, ease: 'power3.out' })
  const yTo = gsap.quickTo(btn, 'y', { duration: 0.5, ease: 'power3.out' })

  btn.addEventListener('mousemove', (e) => {
    const rect = btn.getBoundingClientRect()
    const centerX = rect.left + rect.width / 2
    const centerY = rect.top + rect.height / 2

    // Pull toward cursor, scaled down
    const deltaX = (e.clientX - centerX) * 0.3
    const deltaY = (e.clientY - centerY) * 0.3

    xTo(deltaX)
    yTo(deltaY)
  })

  btn.addEventListener('mouseleave', () => {
    // Snap back to original position
    xTo(0)
    yTo(0)
  })
})
The * 0.3 factor controls how far the button moves. Lower values (0.2) are subtle. Higher values (0.5) feel exaggerated. 0.25 to 0.35 is the sweet spot.
On mouseleave, snapping back to 0 uses the same ease as the follow, so the return feels smooth rather than snapping.
Visual: PLACEHOLDER - Magnetic button demo showing cursor pulling button toward mouse position
Pattern 4: Card Tilt
Mouse-tracked tilt on cards gives a 3D parallax feel. Same quickTo principle, but applied to rotation.
const card = document.querySelector('.card')

const xRotTo = gsap.quickTo(card, 'rotationY', { duration: 0.6, ease: 'power3.out' })
const yRotTo = gsap.quickTo(card, 'rotationX', { duration: 0.6, ease: 'power3.out' })

card.addEventListener('mousemove', (e) => {
  const rect = card.getBoundingClientRect()
  const x = (e.clientX - rect.left) / rect.width // 0 to 1
  const y = (e.clientY - rect.top) / rect.height // 0 to 1

  // Map 0-1 to -10 to 10 degrees
  const rotY = (x - 0.5) * 20
  const rotX = (y - 0.5) * -20

  xRotTo(rotY)
  yRotTo(rotX)
})

card.addEventListener('mouseleave', () => {
  xRotTo(0)
  yRotTo(0)
})
For the 3D perspective to be visible, add CSS perspective to the card's parent:
.card-wrapper {
  perspective: 800px;
}
Without perspective, the rotation exists but doesn't look 3D.
The * 20 factor controls the max rotation in degrees. 10-15 is subtle. 25+ is dramatic. Stay below 30 for general UI use.
Visual: PLACEHOLDER - Card tilt effect showing 3D rotation following mouse cursor position
Pattern 5: Staggered Text on Hover
Text that staggers on hover looks distinctly different from CSS transitions. You can animate individual characters or words.
import { SplitText } from 'gsap/SplitText'

gsap.registerPlugin(SplitText)

const link = document.querySelector('.nav-link')
const split = new SplitText(link, { type: 'chars' })

const tl = gsap.timeline({ paused: true })

tl.to(
  split.chars,
  {
    y: -100,
    opacity: 0,
    duration: 0.3,
    ease: 'power2.in',
    stagger: 0.02,
  },
  0
)

// Clone the text for the "hover-in" version
tl.from(
  split.chars,
  {
    y: 100,
    opacity: 0,
    duration: 0.3,
    ease: 'power2.out',
    stagger: 0.02,
  },
  0.05
)

link.addEventListener('mouseenter', () => tl.play())
link.addEventListener('mouseleave', () => tl.reverse())
This creates the "characters slide up out, new characters slide up in" effect common on creative agency sites. The two animations overlap slightly (0 and 0.05 position parameter) so the transition feels continuous.
SplitText is a GSAP premium plugin, available free with a standard GSAP license.
Handling Multiple Hover Animations
When a user quickly moves in and out, animations can stack or conflict. GSAP handles this correctly when you use play() and reverse() on the same timeline. The animation reverses from wherever it currently is, not from the end.
// This is safe for rapid hover in/out
button.addEventListener('mouseenter', () => tl.play())
button.addEventListener('mouseleave', () => tl.reverse())
If you need to handle the case where the mouse leaves before the animation completes, you can also check tl.progress():
button.addEventListener('mouseleave', () => {
  // Reverse from current position, don't jump to end first
  tl.reverse()
})
This is the default behavior of tl.reverse(). It reverses from the current playhead position. No special handling needed.
Performance Tips
For hover animations that run frequently:
- Animate
x,y,scale,rotation,opacityonly. These are compositor properties. - Use
gsap.quickTo()formousemovehandlers. Creating new tweens on every mouse event kills performance. - For card tilt and magnetic effects on many elements, consider adding
will-change: transformto elements that are actively animating.
Common Mistakes
Creating a new tween on every mousemove event. Use quickTo instead. It reuses one tween.
Not reverting to original state on mouseleave. Always reset position on mouseleave. Leaving elements in an offset state is a bug.
Large rotation values on tilt effects. More than 25 degrees looks broken on most designs. Keep it subtle.
Animating many text characters with complex easing on every hover. SplitText with 20+ characters and elastic.out easing can stutter. Stick to power2 or power3 for character-level hover animations.
Key Takeaways
- Create a paused timeline and use
play()/reverse()for hover in/out. One animation, both directions. - Use
gsap.quickTo()for any property that updates onmousemove. It's dramatically more efficient than new tweens. - Magnetic effects work by calculating cursor offset from element center and scaling it down.
- Card tilt uses
rotationX/rotationYwith a parentperspectiveCSS value. - SplitText enables character-level text reveals on hover.
Take It Further
The magnetic button pattern is one of the most-requested animations. The Annnimate library has a fully implemented magnetic button with configurable strength and direction, ready to drop into any project.
For the cursor follower pattern at full build quality, browse the cursor animations in Annnimate. And if you want to understand how timelines power these patterns, the GSAP Timeline Tutorial covers the play/reverse pattern in detail.